Succulent plants are a popular choice among plant enthusiasts and beginners alike, thanks to their unique appearance and low maintenance requirements. However, to keep these plants thriving, it’s important to provide them with the right conditions.
One of the key factors in the care of succulent plants is proper drainage. Without proper drainage, the roots of these plants can become waterlogged, leading to root rot and eventually, the death of the plant.
In this blog post, we’ll be discussing succulent planter drainage for beginners, providing a step-by-step guide to help you create a well-drained planter for your succulents. Whether you’re a seasoned gardener or just starting out, this guide will provide you with all the information you need to successfully plant and care for your succulents.
So if you’re ready to learn how to create the perfect environment for your succulent plants, let’s dive in and explore the world of succulent planter drainage!
Step 1: Choose the Right Planter
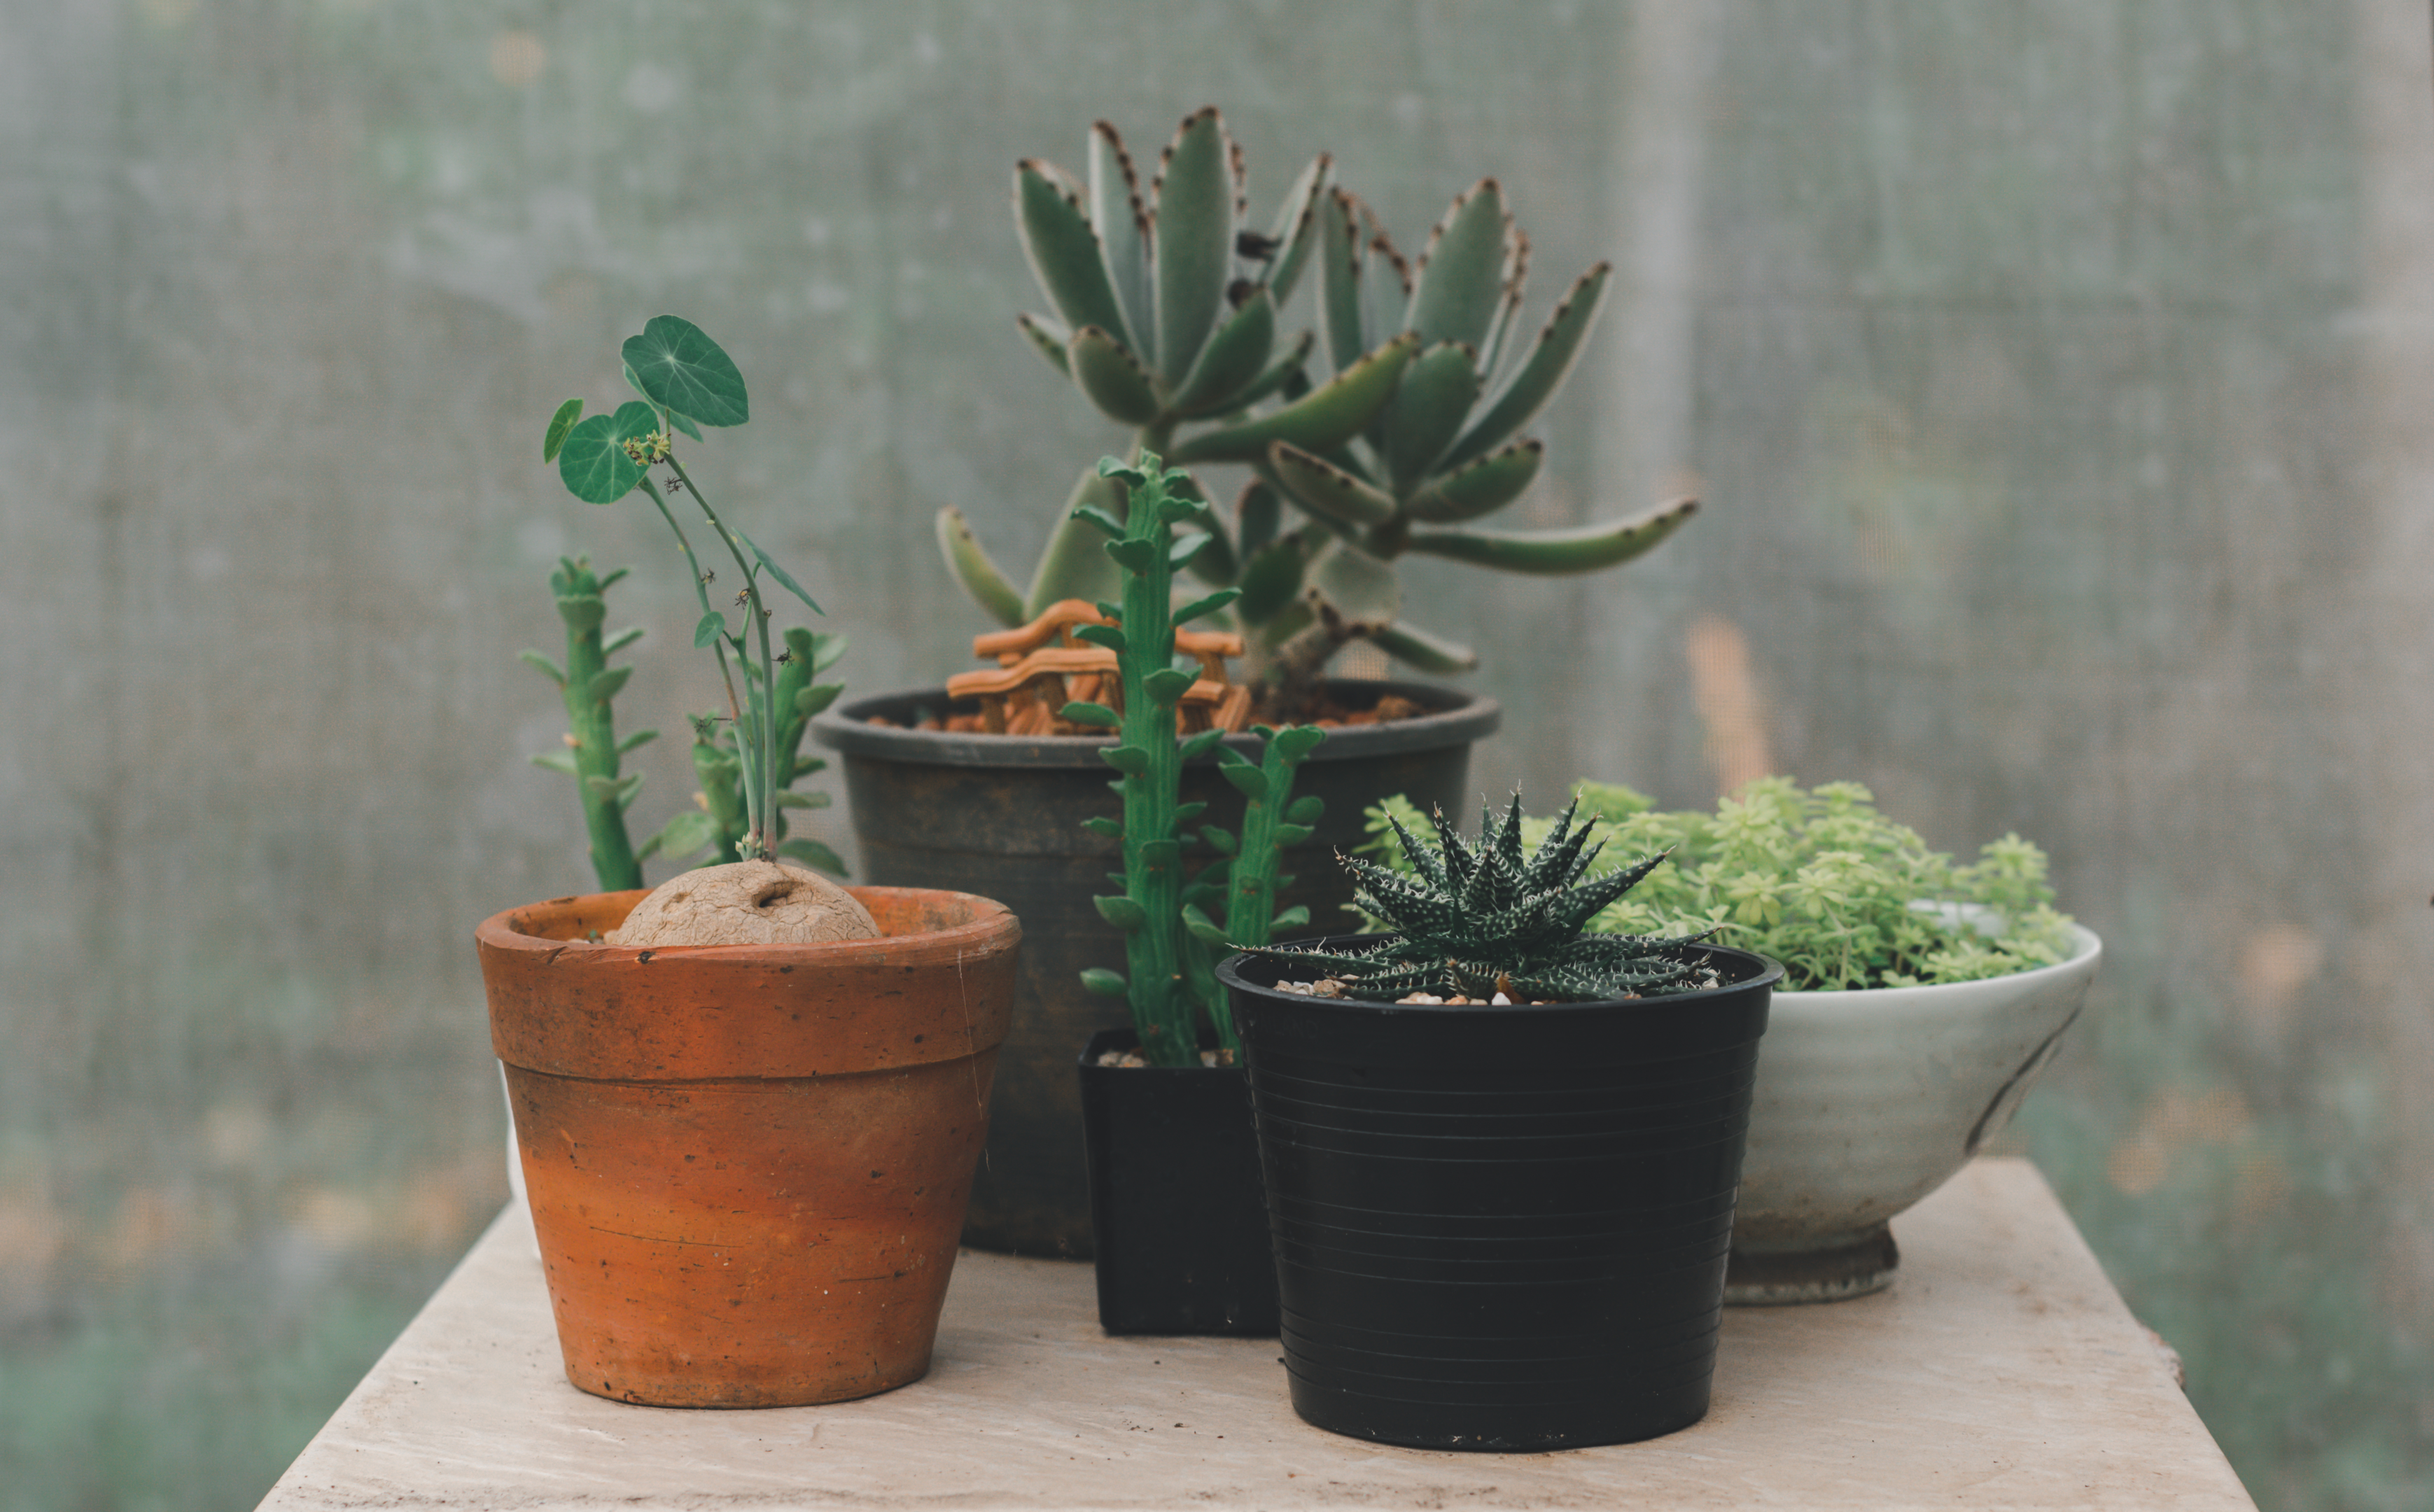
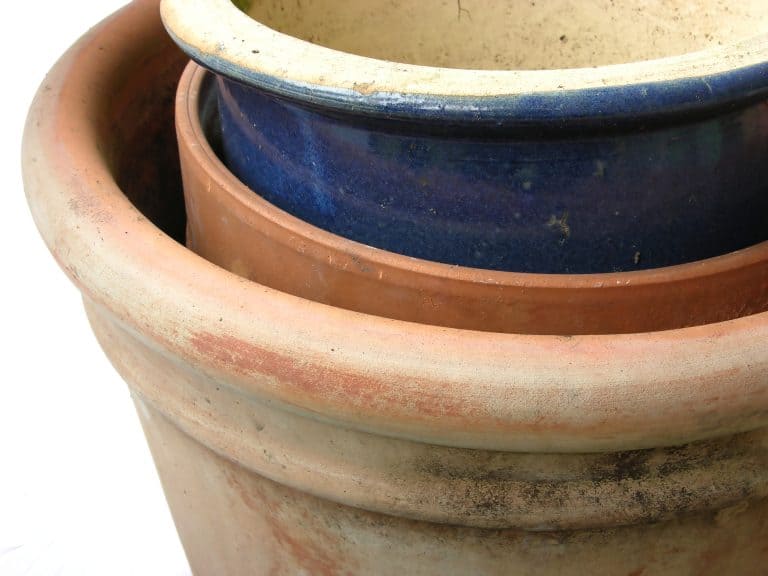
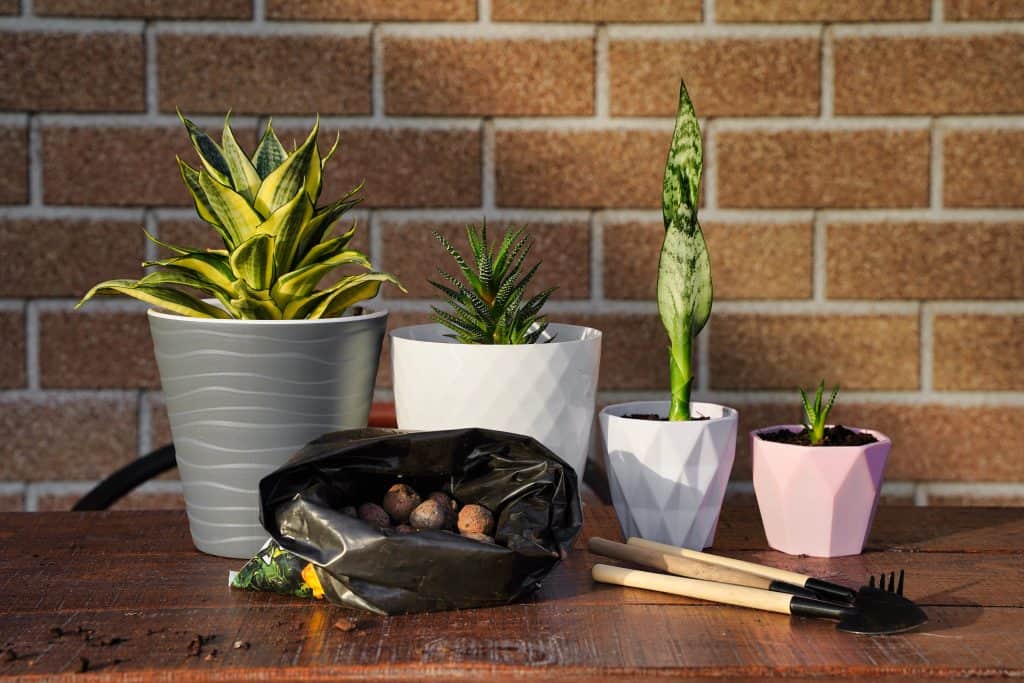
The first step in creating a well-drained succulent planter is choosing the right planter. There are several material options to choose from, including terracotta, plastic, and ceramic. Each material has its own unique set of benefits and drawbacks, so it’s important to consider your specific needs and preferences when selecting succulent pots.
In terms of size and shape, there are many unique containers available, but you should consider the size of your succulents and the amount of space they will need to grow and spread. The planter should also have adequate drainage holes to allow excess water to escape and prevent root rot.
If the planter does not have enough drainage holes, you can add additional holes or consider purchasing a different planter. If you choose to add additional drain holes to the pot, you may be able to pierce or melt the pot if it is a soft plastic. Alternatively, if you have terracotta or ceramic pots without drainage holes, you will need to drill holes. Click here to see a video this explains how to do this.
Terracotta planters are a popular option due to their breathability and ability to wick away excess moisture. However, they can be heavy and brittle, and may crack or break over time. Plastic planters, on the other hand, are lightweight and durable, but they do not allow air to circulate as well as terracotta. Ceramic planters offer a combination of beauty and functionality, but they can be expensive and heavy.
In conclusion, when choosing the right planter, consider the material, size, shape, and drainage holes. Take the time to research each option and select the one that best fits your needs and preferences. The right succulent pot will help ensure that your plants receive the proper drainage they need to thrive.
Step 2: Add a Drainage Layer
Once you have selected the right planter, the next step in creating a well-drained succulent planter is to add a drainage layer. This layer will provide a space for excess water to accumulate and prevent it from sitting in the soil and causing root rot.
There are several options for the drainage layer, including rocks, pebbles, or broken pieces of terra cotta pots. The drainage layer should be placed at the bottom of the planter, with a thickness of 1-2 inches. The material you choose will depend on your personal preferences and the size and shape of your planter.
Rocks or pebbles are a popular option for the drainage layer as they are readily available and affordable. They also come in a variety of colors and sizes, making it easy to find a material that fits the aesthetic of your planter. Broken pieces of terra cotta pots are another option, as they allow for increased air flow and water permeability.
It’s important to note that the drainage layer should be separated from the soil by a piece of fabric, such as landscape fabric or coffee filters, to prevent the soil from clogging the drainage holes. This will ensure that the water flows freely through the planter and out of the drainage holes, preventing root rot.
In conclusion, the drainage layer is an essential component of a well-drained succulent planter. By adding a layer of rocks, pebbles, or terra cotta, you can ensure that excess water is properly managed and your succulents receive the proper care they need to thrive.
Step 3: Fill the Planter with Soil
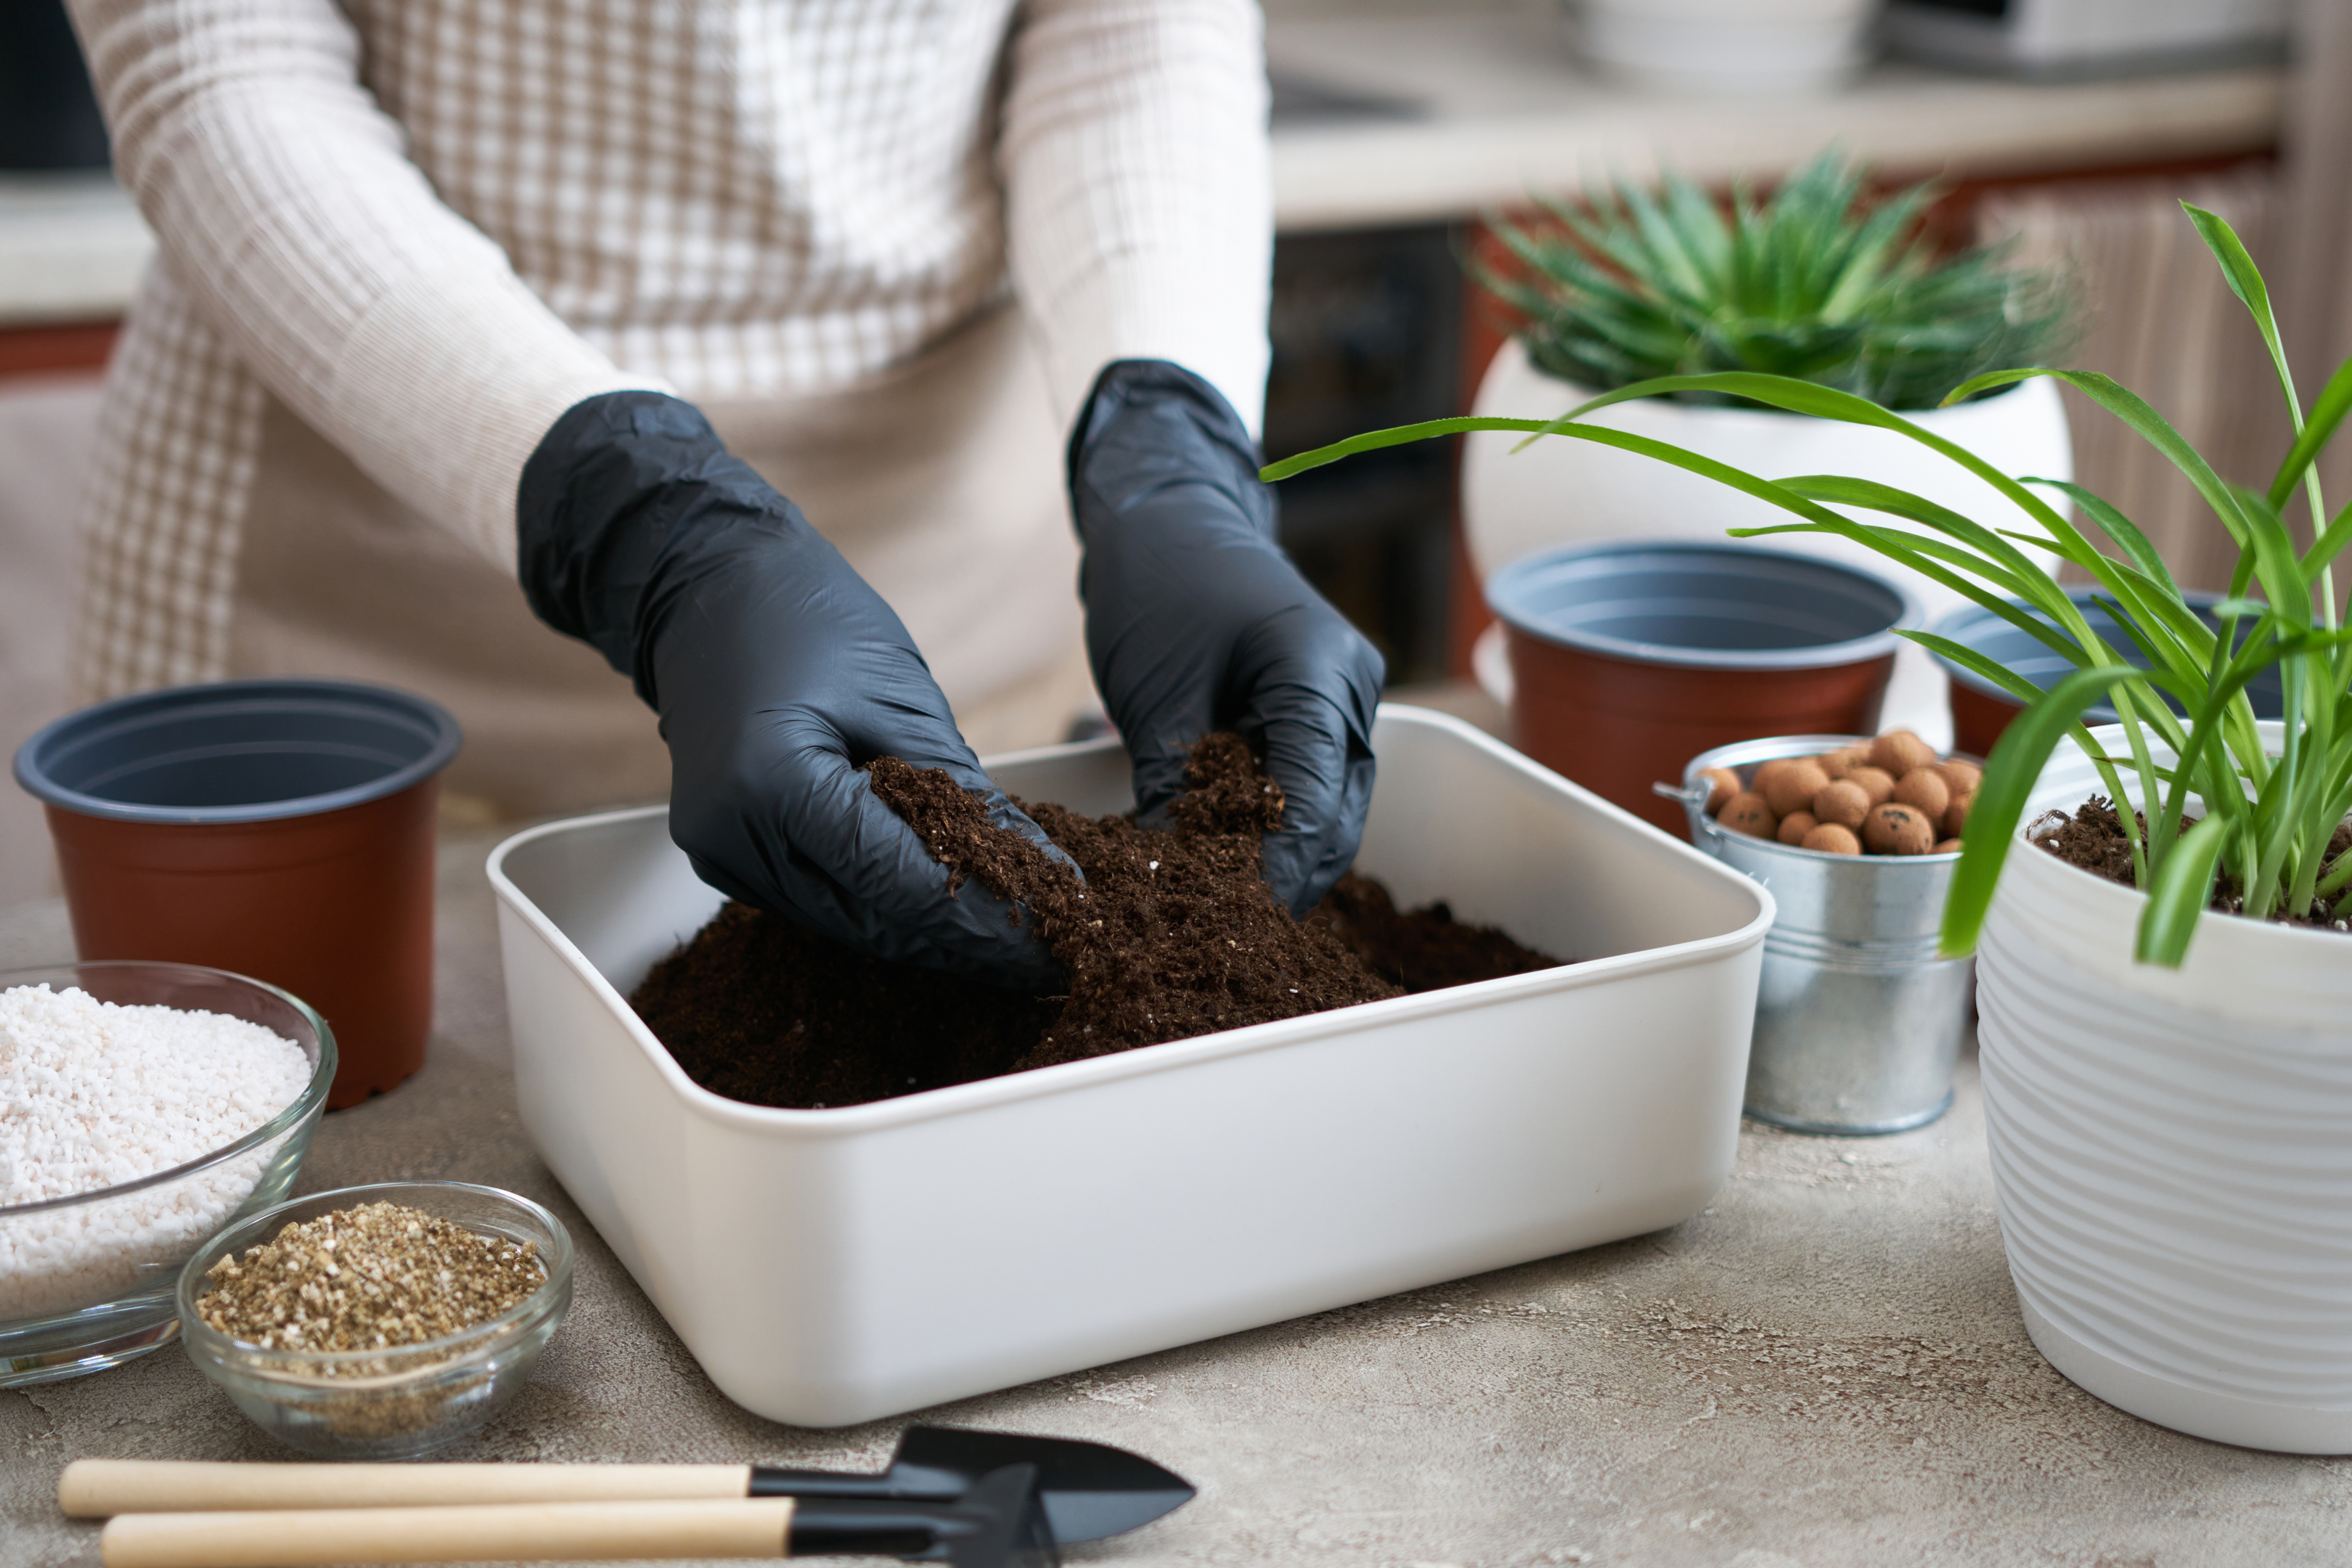
The third step in creating a well-drained succulent planter is to fill the planter with soil. The soil you choose should be well-draining, allowing excess water to escape and preventing root rot. Succulent plants require a soil that is loose and airy, providing the roots with enough space to grow and breathe.
Commercially available succulent and cactus mix is readily available at most garden centers and can provide the perfect balance of drainage and moisture retention. You can also make your own succulent soil blend by mixing equal parts of perlite, coarse sand, and peat moss. This mixture will allow for excellent drainage and provide the roots with enough air.
When filling the planter with soil, it’s important to be gentle and not to pack the soil too tightly. This will allow for proper air flow and prevent the soil from becoming compacted, which can impede drainage. Fill the planter until the soil is level with the rim of the planter and make sure to water it thoroughly before planting your succulents.
In conclusion, choosing the right soil is an essential component of creating a well-drained succulent planter. By selecting a soil that is well-draining and loose, you can provide your succulents with the proper environment they need to thrive. Fill the planter gently and water thoroughly to ensure that the soil is properly hydrated and ready for planting.
Step 4: Plant Your Succulents
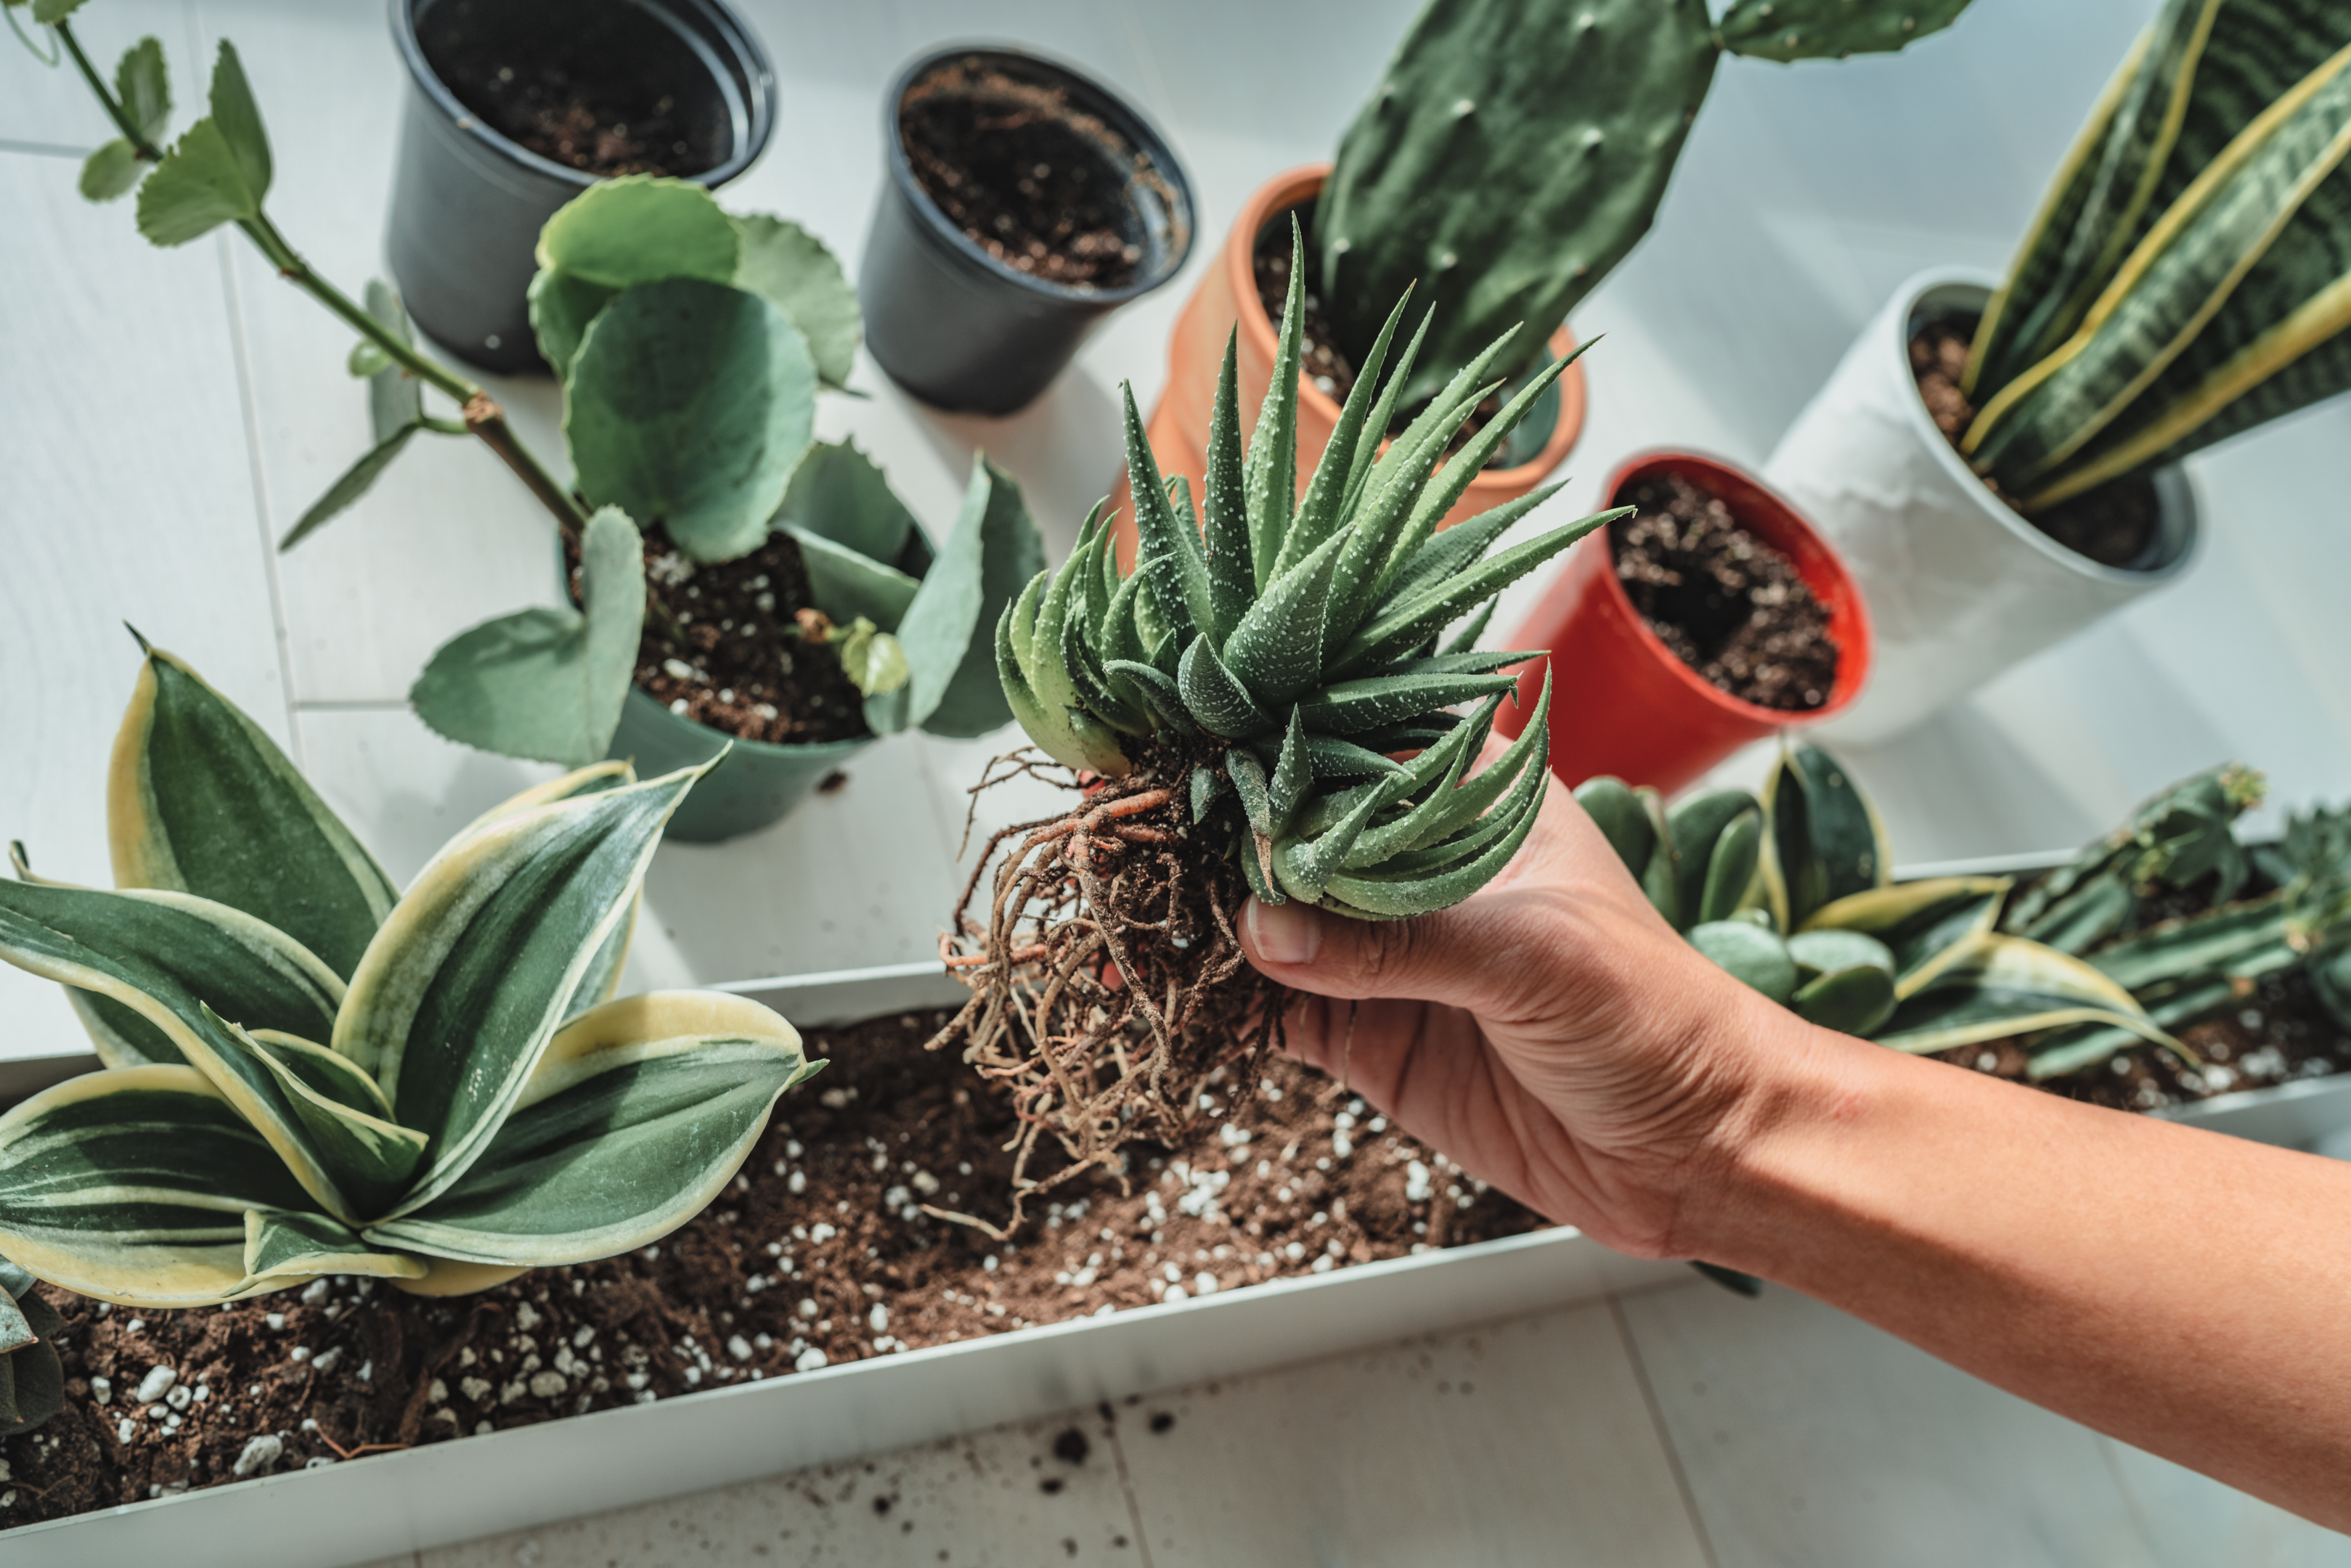
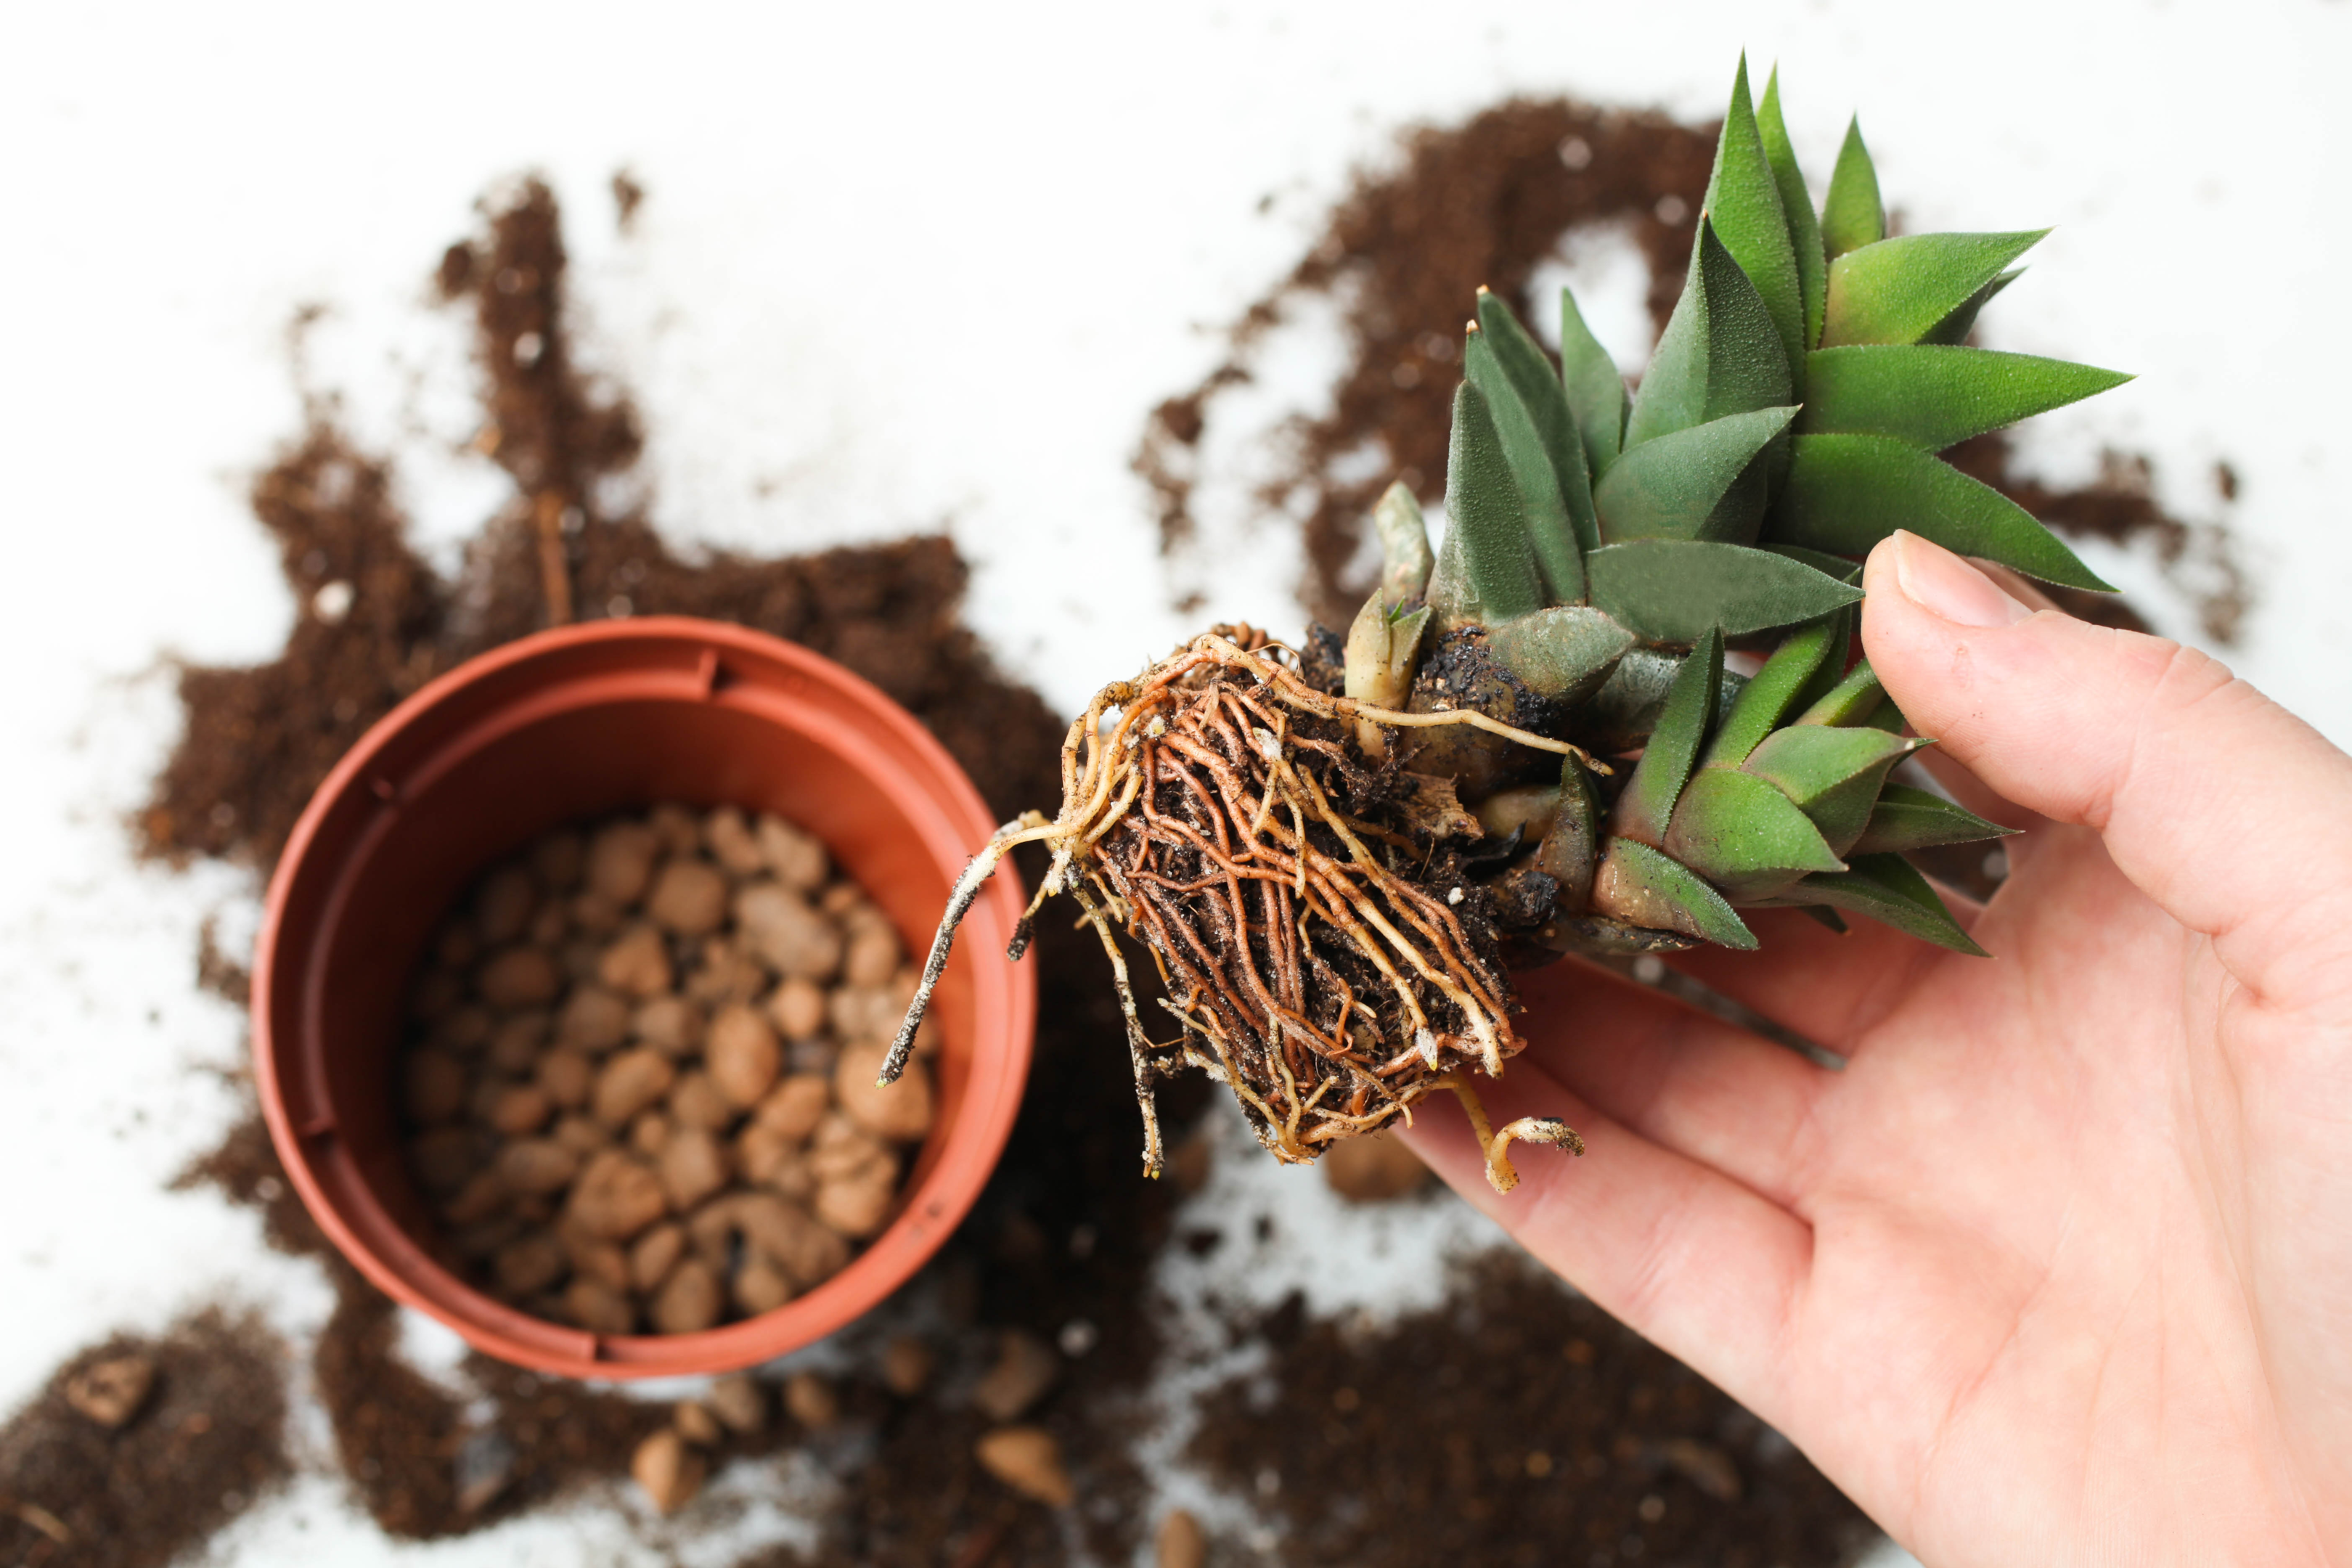
Now that you have the right planter, drainage layer, and soil, it’s time to plant your succulents. When planting succulents, it’s important to handle them carefully and not to damage the succulent’s roots as they are very delicate. Choose the right size and shape of the pot for your succulent, as well as the right location with the right amount of light.
Begin by removing your succulent from its current pot and gently separating any tangled roots. Place the succulent in the center of the planter, adjusting the soil as necessary to make sure it is sitting at the right height. Be sure to plant the succulent at the same depth it was in its previous pot, as planting it too deep can lead to root rot.
After planting, gently press the soil around the base of the succulent to secure it in place. Water the soil lightly, making sure not to get water on the foliage of the succulent as this can cause rot. Allow the soil to drain for a few minutes before discarding any excess water.
In conclusion, planting your succulents is the final step in creating a well-drained succulent planter. By following these steps and taking care to handle the succulents gently, you can ensure that your new planter will provide the proper environment for your succulents to thrive. Enjoy your new planter and watch as your succulents grow and flourish.
Step 5: Watering and Maintenance
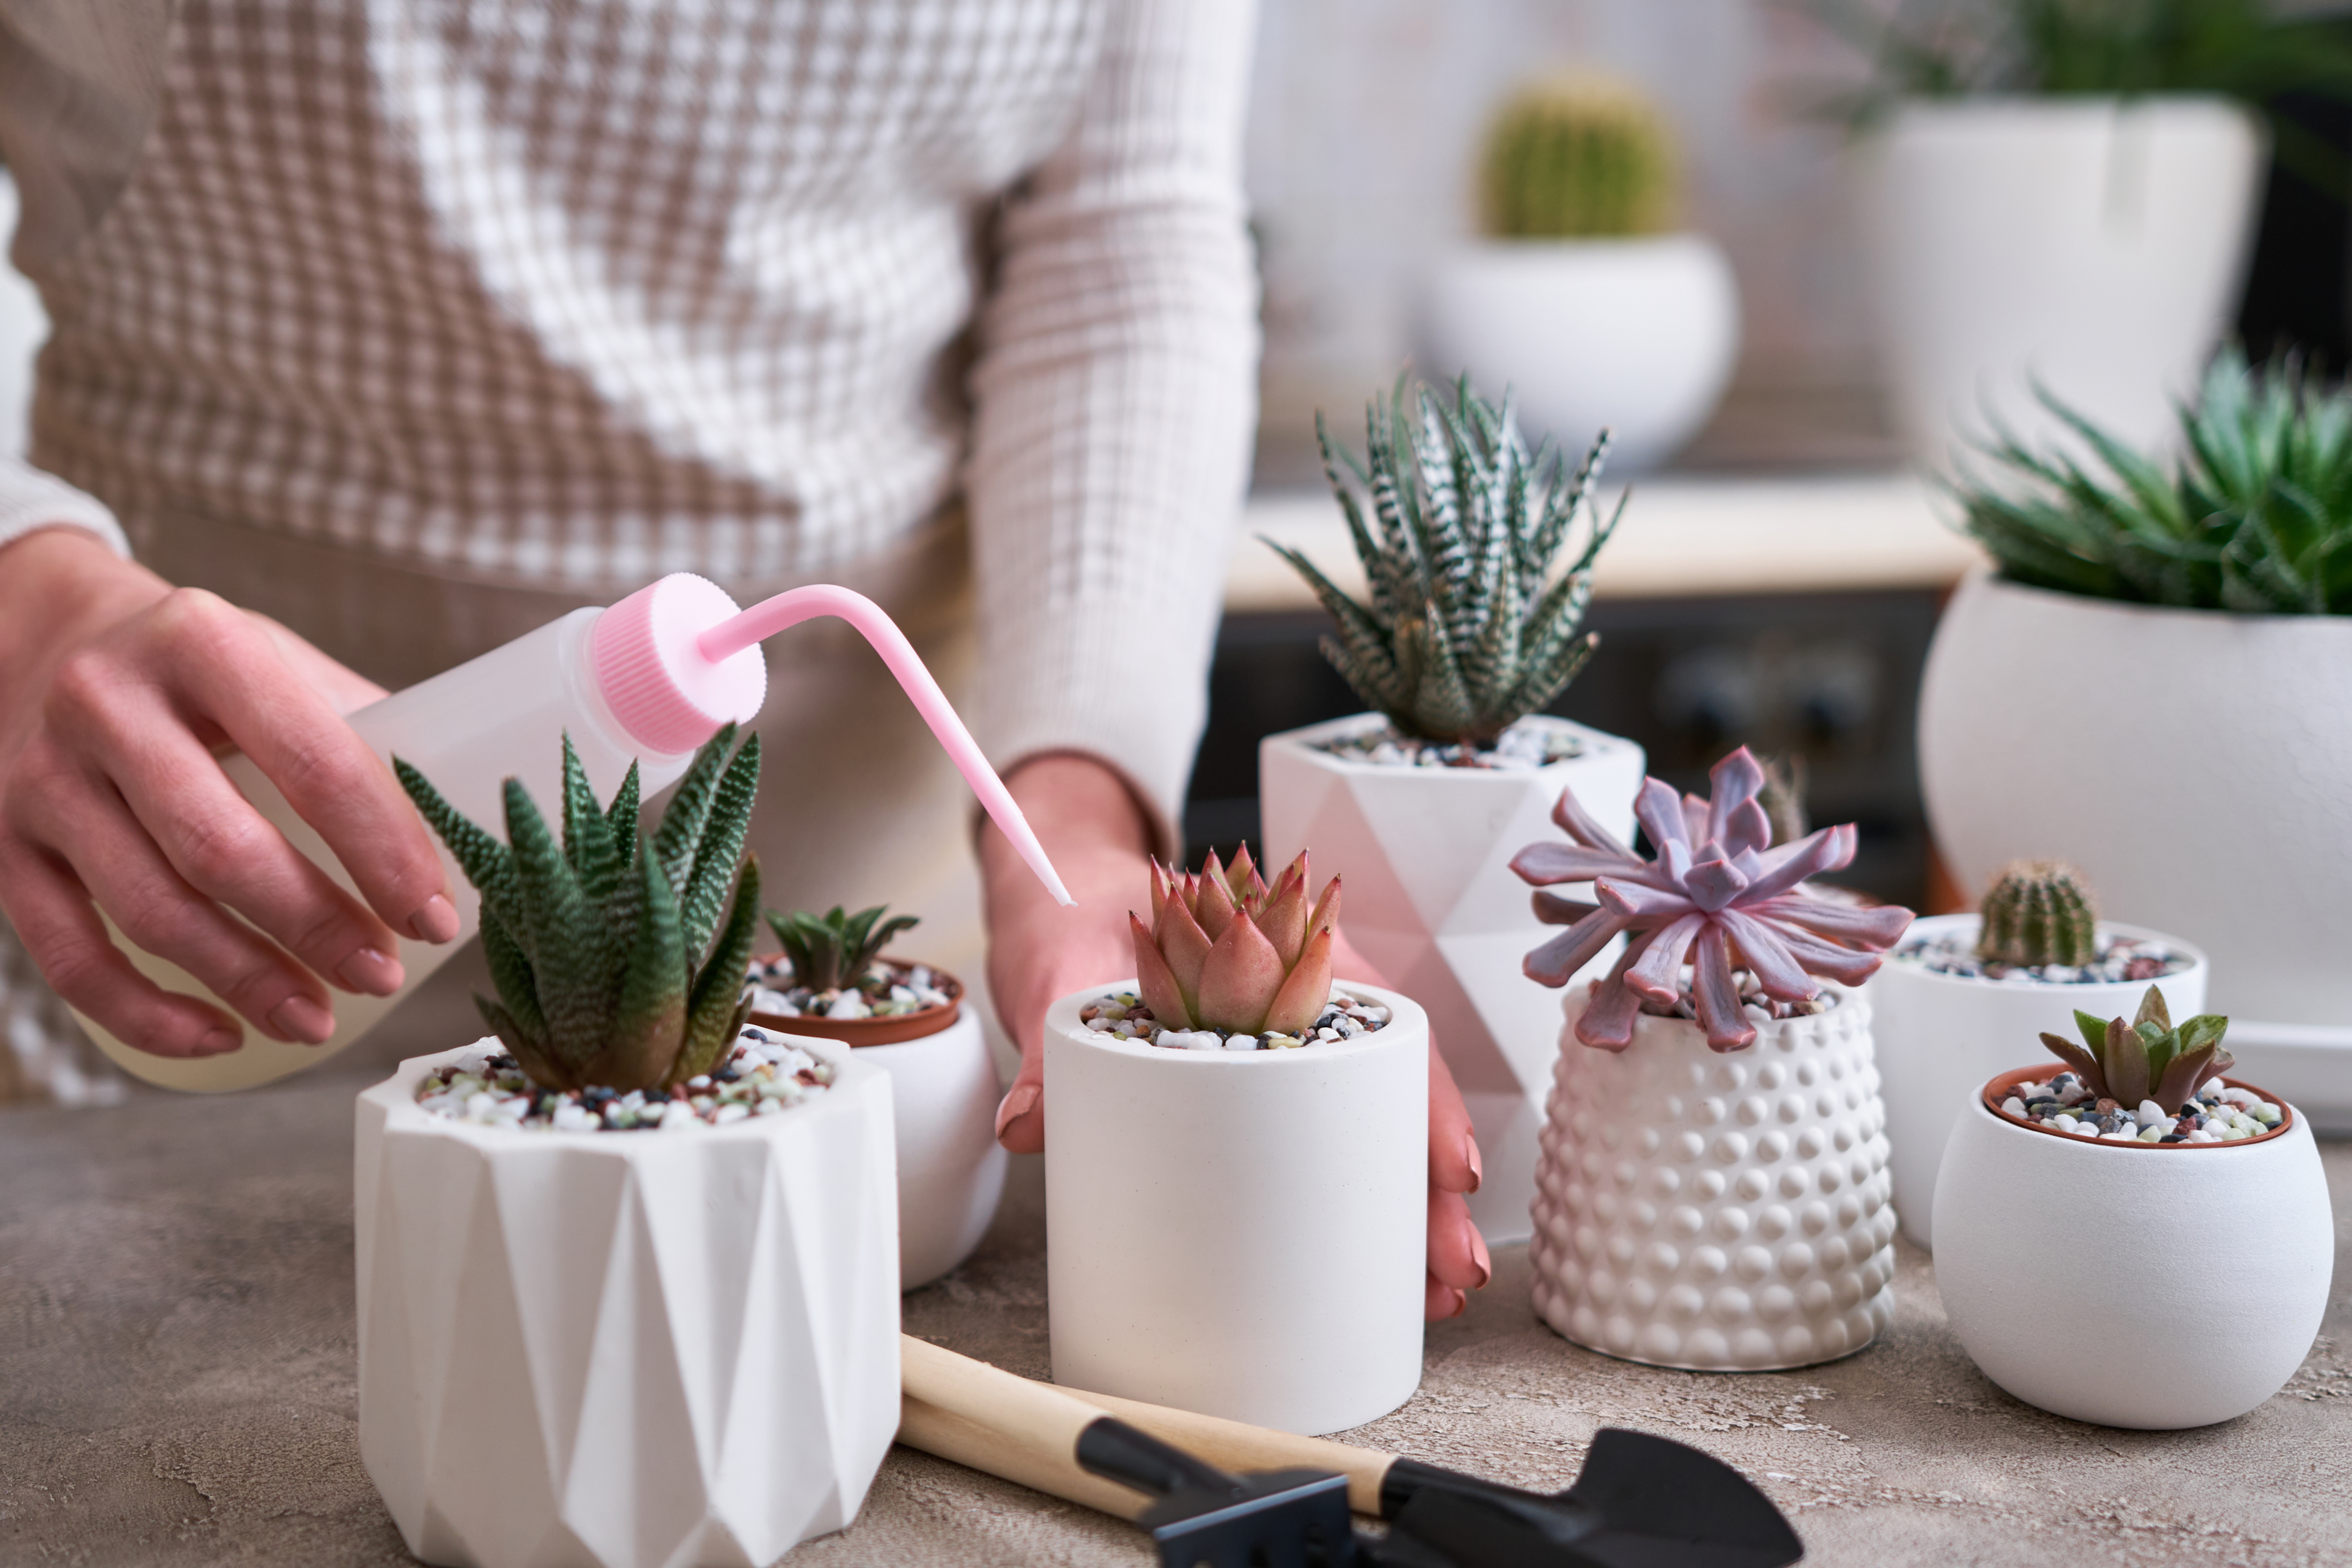
After planting your succulents, it’s important to establish a regular watering schedule to keep them healthy and thriving. Overwatering is one of the biggest threats to succulents, as it can lead to root rot and other issues. To avoid overwatering, wait until the soil has fully dried out before watering again.
When watering, it’s important to use a watering can or a hose with a fine spray to avoid disturbing the soil or damaging the foliage of the succulent. A squeeze bottle with a long spout is ideal for smaller plants. Water the soil thoroughly, making sure that it is evenly moist, but not waterlogged. Allow the soil to drain for a few minutes before discarding any excess water.
In addition to regular watering, it’s important to provide your succulents with adequate light and air circulation. Place the planter in a location with bright, indirect light, and avoid placing it in direct sunlight, which can scorch the foliage. Make sure that there is enough space between the plants to allow for adequate air circulation.
In conclusion, watering and maintenance are essential components of keeping your succulent planter healthy and thriving. By establishing a regular watering schedule, providing adequate light and air circulation, and avoiding overwatering, you can ensure that your succulents will grow and flourish for years to come. Regular monitoring and inspection of the planter will help you identify and address any potential issues before they become major problems.
Succulent Planter Drainage: Conclusion
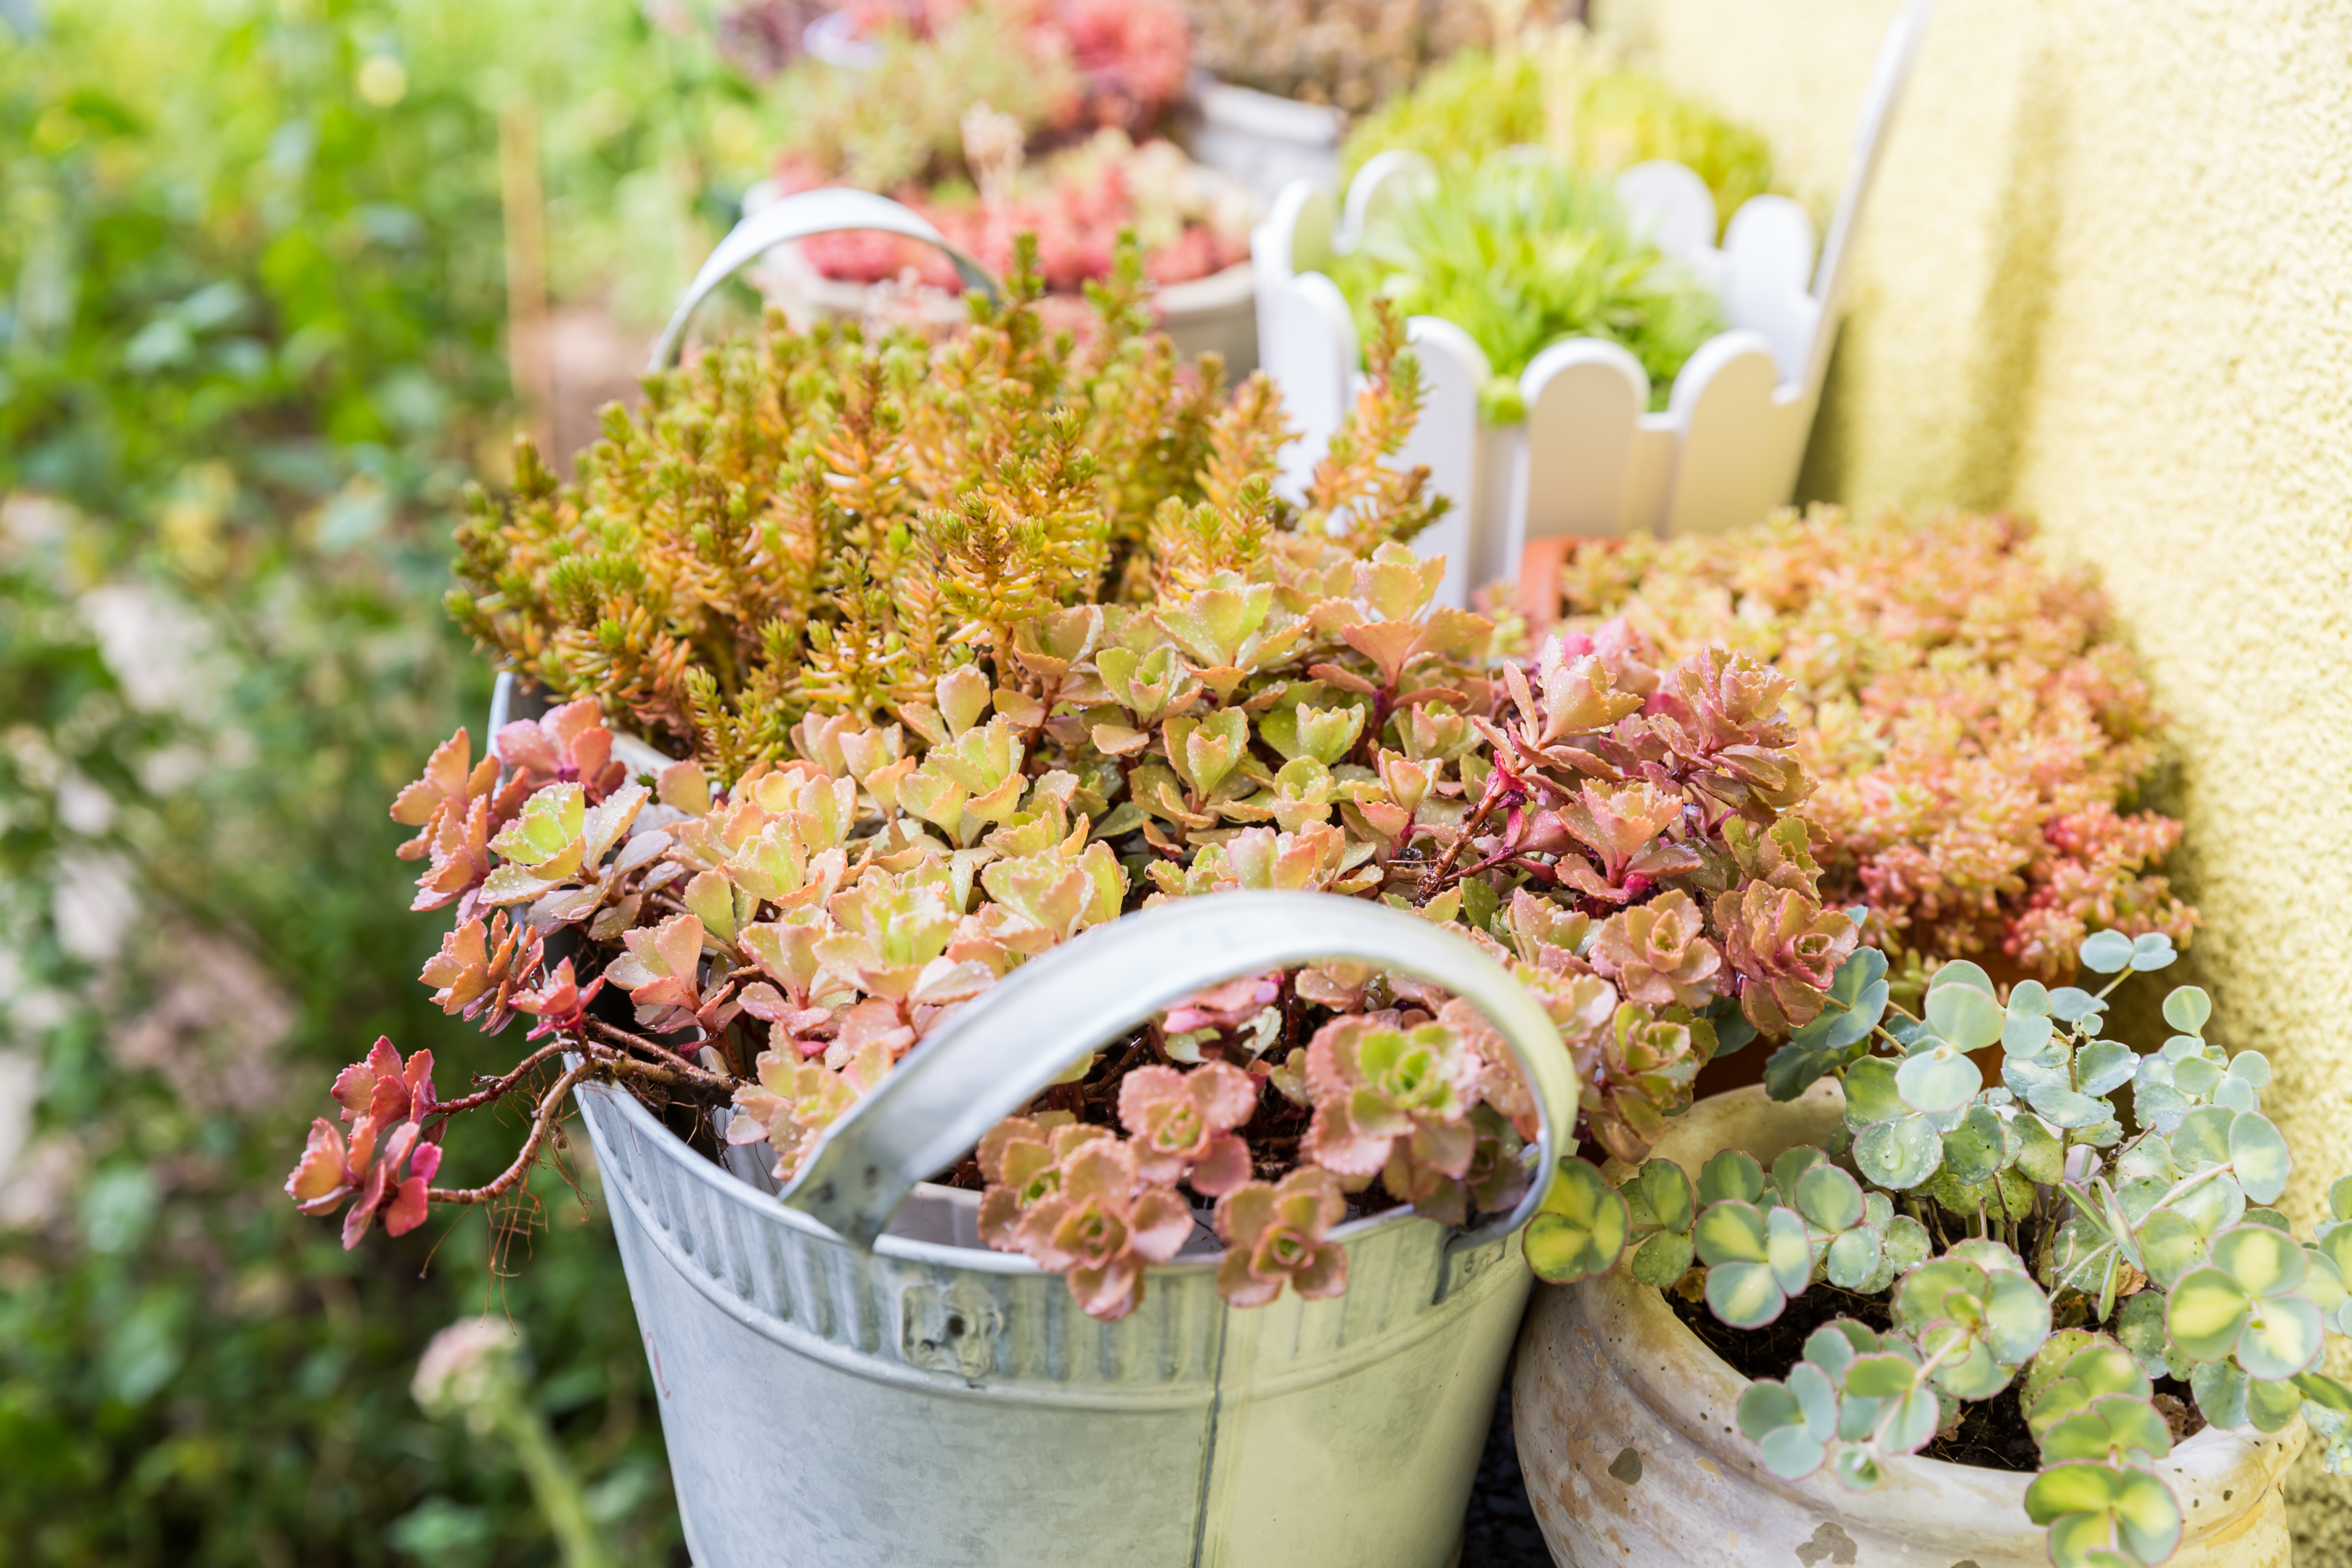
In conclusion, succulent planter drainage is an important aspect of growing healthy and thriving succulents. By following the step-by-step guide outlined in this post, you can create a well-drained planter that provides the ideal environment for your succulents to grow and flourish. From choosing the right planter to planting and maintaining your succulents, these tips will help you create a beautiful and thriving succulent garden.
Whether you are a seasoned gardener or a beginner, succulent planter drainage is an essential aspect of growing healthy succulents. By taking the time to create a well-drained planter, you can ensure that your succulents receive the proper amount of water and nutrients, while avoiding common issues such as root rot and other problems caused by overwatering.
So whether you’re looking to create a small windowsill garden or a larger outdoor succulent bed, by following these tips and guidelines, you can be sure to grow beautiful and healthy succulents for years to come. With a little care and attention, you can enjoy the beauty of succulents in your home or garden, and bask in the satisfaction of growing these fascinating and hardy plants.